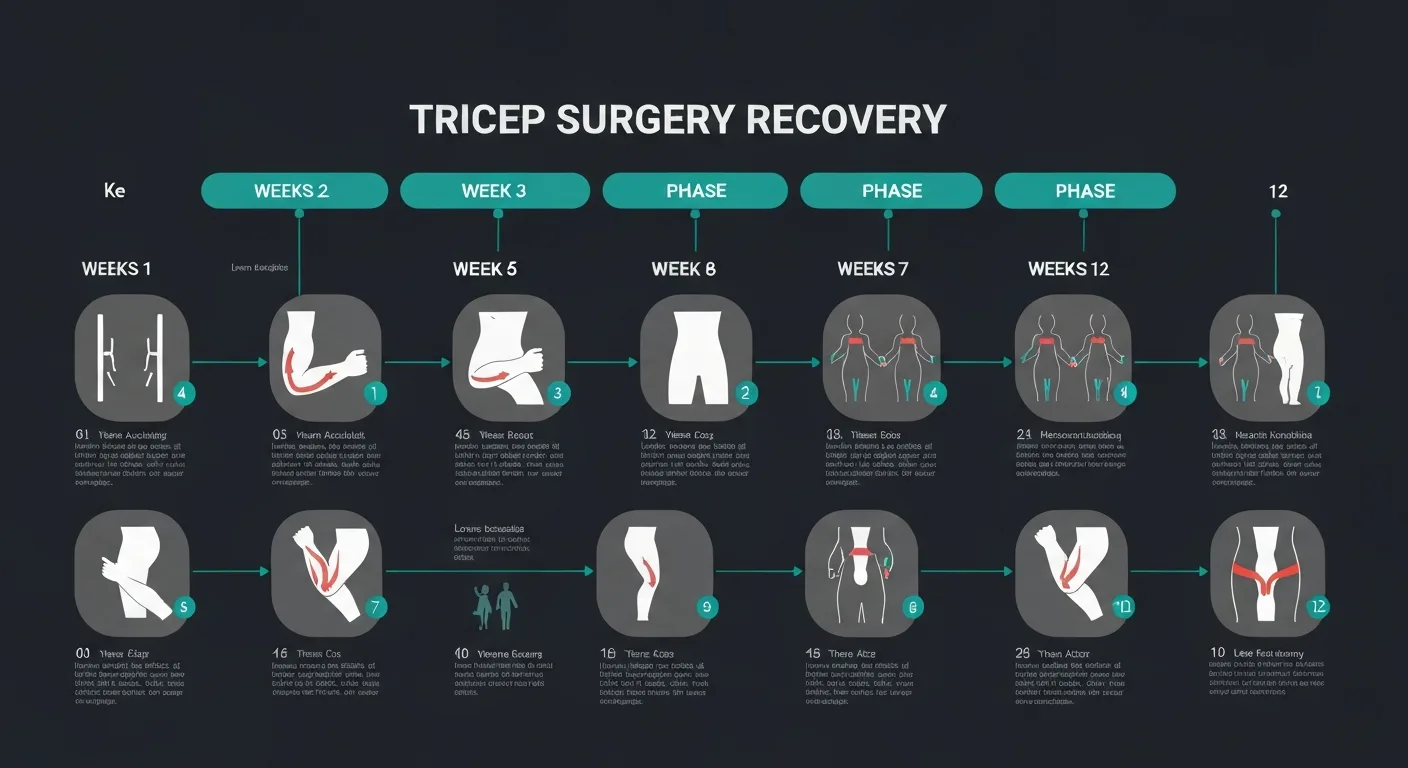
The standard tricep repair protocol spans 4 to 6 months and progresses through four phases: immobilization (weeks 0 to 2), early motion (weeks 2 to 6), progressive strengthening (weeks 6 to 12), and return to full activity (months 3 to 6). Each phase has specific goals, restrictions, and milestones that must be met before advancing.
Protocol Overview
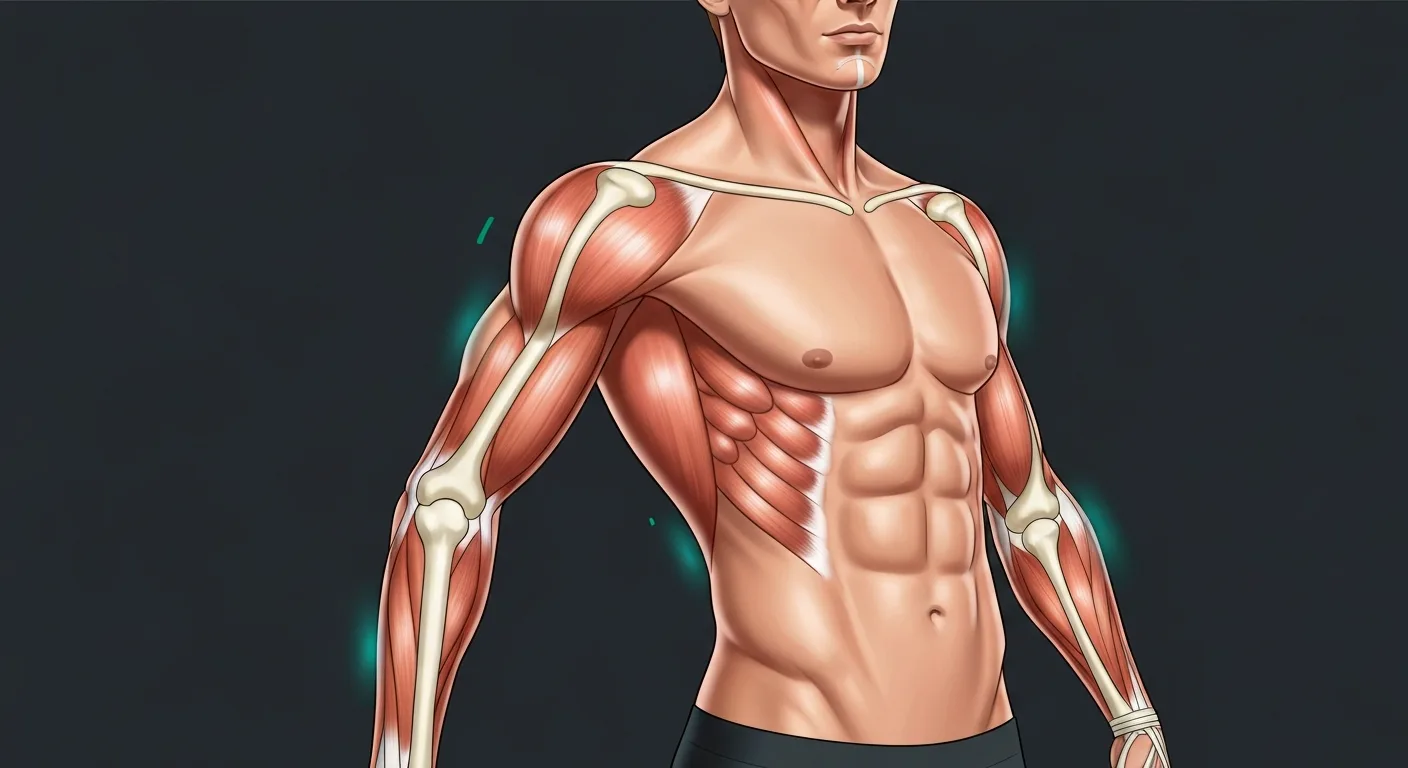
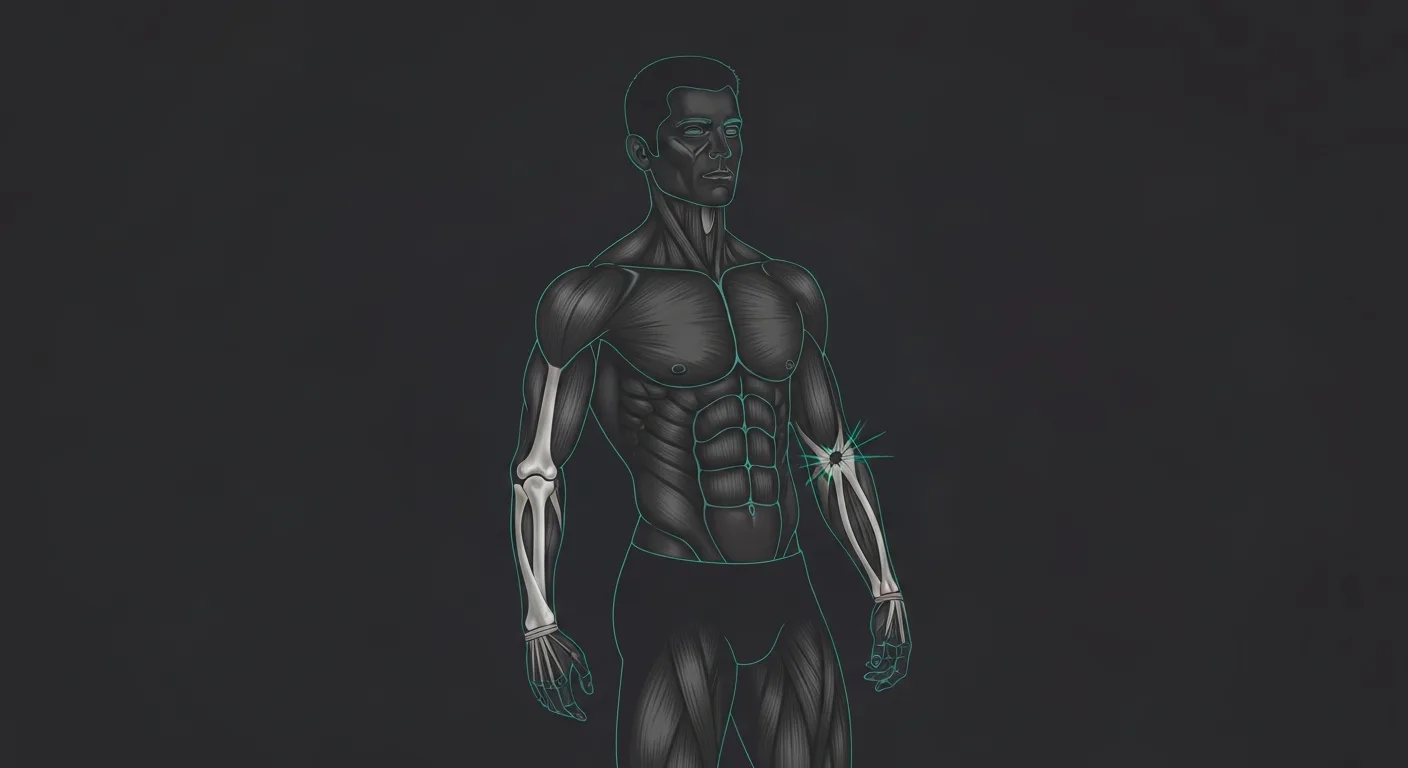
Tricep repair surgery reattaches the distal tricep tendon to the olecranon after a complete rupture. The repair itself is only half the battle — the rehabilitation protocol determines whether you achieve full strength and function or develop limitations that persist long-term.
This protocol is a general evidence-based guideline. Your surgeon may modify timelines based on the severity of the tear, repair technique used, tissue quality, and individual factors. Always follow your surgeon's specific instructions when they differ from general guidelines.
Phase 1: Immobilization and Protection (Weeks 0 to 2)
Goal: Protect the surgical repair and manage post-operative pain and swelling.
The arm is placed in a posterior splint or hinged brace with the elbow at approximately 30 to 45 degrees of flexion. This position takes tension off the repair site. Ice is applied for 15 to 20 minutes every 2 hours while awake to manage swelling. Pain medication is taken as prescribed. Keep the arm elevated above heart level when resting.
Activity restrictions: No active elbow extension. No lifting with the affected arm — not even a coffee cup. Gentle finger, wrist, and shoulder movements (pendulums) are encouraged to prevent stiffness in uninvolved joints.
Milestone before advancing: Surgical wound healing, manageable pain without narcotic medication, and surgeon clearance at the 2-week follow-up visit.
Phase 2: Early Motion (Weeks 2 to 6)
Goal: Restore elbow range of motion while protecting the repair from excessive force.
Active-assisted flexion (bending the elbow) begins — you can use the other hand to assist the movement. Passive extension begins — gravity-assisted straightening with no muscular effort from the triceps. Range of motion progresses gradually: target 90 degrees of flexion by week 3, full flexion by week 4, and full passive extension by week 6.
Activity restrictions: No active (muscular) extension against any resistance. No lifting. No pushing. Sling may be used for comfort but should be removed for exercises. Begin gentle forearm rotation (supination and pronation) within pain tolerance.
Milestone before advancing: Full passive range of motion (within 10 degrees of the uninvolved side), no significant swelling, and surgeon clearance at 6-week follow-up.
Phase 3: Progressive Strengthening (Weeks 6 to 12)
Goal: Rebuild triceps strength through progressive loading while continuing to protect the repair.
Weeks 6 to 8: Light isometric exercises begin. Press gently against a wall with the elbow at various angles (45, 90, and 135 degrees). Hold each contraction for 5 to 10 seconds. The force should be light — about 25 percent of perceived maximum effort.
Weeks 8 to 10: Light concentric and eccentric exercises. Resistance band extensions with very light bands. Slow, controlled movements through the available range. Sets of 10 to 15 repetitions.
Weeks 10 to 12: Progress to light dumbbell exercises (2 to 5 pounds). Seated overhead extensions with very light weight. Light cable pushdowns. Focus on control and full range of motion rather than load.
Activity restrictions: No heavy pressing, no dips, no plyometric or explosive movements. Avoid exercises that produce pain rated above 3 out of 10. No contact sports or activities with fall risk.
Milestone before advancing: Active extension through full range without pain. Strength at approximately 50 to 60 percent of the uninvolved side. No swelling after exercise sessions.
Phase 4: Return to Full Activity (Months 3 to 6)
Goal: Restore full strength and function. Gradual return to gym training, sports, and heavy lifting.
Months 3 to 4: Continue progressive strengthening. Advance to moderate weights. Introduce compound movements at reduced loads — light bench press (50 percent of pre-injury max), push-ups (on knees initially), and machine pressing. Continue direct tricep work with moderate pushdowns and extensions.
Months 4 to 6: Gradually increase loads toward pre-injury levels. Dips can be reintroduced starting with assisted or machine variations. Target strength within 90 percent of the uninvolved side before returning to full-intensity training.
Return-to-sport criteria: Pain-free full range of motion, strength within 90 percent of the uninvolved side, ability to perform all required sport-specific movements without pain or apprehension, and surgeon or physical therapist clearance.
Timeline Summary
| Phase | Timeframe | Key Activities | Restrictions |
|---|---|---|---|
| 1: Immobilization | Weeks 0–2 | Splint, ice, elevation | No elbow movement |
| 2: Early Motion | Weeks 2–6 | Passive/active-assisted ROM | No active extension |
| 3: Strengthening | Weeks 6–12 | Isometrics → light resistance | No heavy pressing |
| 4: Return | Months 3–6 | Progressive loading → full training | No max efforts until month 6 |
Resistance Bands for Rehab
Light bands for post-surgery progressive strengthening.
Why we suggest it: Smooth progressive tension ideal for rebuilding after surgery.
Check Price on Amazon →As an Amazon Associate, we earn from qualifying purchases.
Common Mistakes During Recovery
The most common errors that compromise recovery include returning to heavy weights too quickly (the number one cause of re-rupture), skipping physical therapy sessions, relying on passive modalities (ice, stim) instead of progressive loading, ignoring pain signals — "working through" discomfort rather than modifying, and neglecting general fitness during recovery. You can and should train your lower body and unaffected upper body throughout recovery.
Supporting Your Recovery
Support the healing process with adequate protein intake (1.6 to 2.2 grams per kilogram of body weight daily), a support brace during early return-to-activity phases, tricep stretches once cleared by your therapist, and patience. The protocol exists because tendon healing follows a predictable biological timeline. You cannot meaningfully accelerate it by training harder.
When to Contact Your Surgeon
Contact your surgeon immediately if you experience a sudden pop, snap, or giving way sensation (possible re-rupture), increasing swelling or redness at the surgical site, drainage or signs of infection, new numbness or tingling in the hand, or a sudden loss of previously gained motion. Any of these could indicate a complication that requires prompt evaluation.